
Using VirtualBox 4 in openSUSE (openSUSE Host, Windows XP
and Windows 7 Guests)
This is page 3 of this article. Please see
page 1 first. This section assumes you have followed
that info!
Step 1 - Install VirtualBox.
There are 2 ways to do this:
- Install from YaST. The repos are here:
http://download.opensuse.org/repositories/Virtualization/
You can also add the official VirtualBox repos to
YaST. See the bottom of
this page. This is my preferred method.
- Download the 3 files you need from VirtualBox (see page 1)
and install them.
(Install note - See
this thread in the openSUSE Forums if you are having
issues)
Step 2 - Add yourself to the vboxusers group.
From the manual "The Linux
installers create the system user group vboxusers during
installation. Any system user who is going to use USB
devices from VirtualBox guests must be member of that group.
A user can be made member of the group
vboxusers through the GUI user/group management or at the
command line with
sudo usermod -a -G vboxusers username"
However, you will find that command will not work under
openSUSE.
Using sudo under openSUSE the command would be
sudo /usr/sbin/usermod -G vboxusers
username
The standard way to do it under
openSUSE via command line is:
1 - open a terminal
2 - type su then
enter your root password
3 - type usermod -G
vboxusers username
(username is your User name, not
the word username)
You can also do this the GUI way:
Go to YaST > Security and Users > User and Group Management.
Highlight your User Name
Click Edit.
Click the Details. Scroll down and check vboxusers.
Click OK when Finished.
Step 3 - Open VirtualBox. We are going to create our
first Virtual Machine.
Click on the New button.
Click Next.
Name it, pick OS, pick version. Click Next.

Configure how much RAM you want to give to the Guest OS.
Click Next
Create a new hard disk. Click Next.

The Wiz! Click Next.
I recommend using Dynamically expanding storage if space is
at all a consideration.
Fixed-size is OK if not. Click the Next button.
Here is where many folks get in to trouble, having to resize
a disk when space becomes an issue for the Guest OS.
For testing this usually isn't an issue.
If you are going to keep this OS around, make this as big as
you can afford to without going overboard.
Remember Windows Vista & 7 need more space than XP.
In this section you can choose an alternate location to
store your VM.
Click the Next button when you're finished.
Everything look as you had intended? Click on the Finish
button.
Everything look as you had intended? Click on the Finish
button. (where did I just see that???)
Click Finish.
Don't click Start yet! We've got some more work to do. Click
the Settings button.

Click on the System section.

Configure your Boot Order. For install CD/DVD-Rom should be
first. Unless you need F6 drivers you don't need a floppy.
Select your Chipset next. As of this writing ICH9 is new.
If you intend on letting the Guest OS access multiple more
than one CPU/Core then you need to Enable I/O APIC.
UTC Time.
I don't understand the obsession of trying to screw with my
clock. I don't care what time it is somewhere else.
Uncheck this and it'll stick with the time on your computer.
Click on the Processor tab when you are done with this
section.
Adjust the number of processors/cores you want available to
the Guest OS.
PAE/NX - Here is what the VB manual says:
"In addition, the "Enable
PAE/NX" setting determines whether the PAE and NX
capabilities of the host CPU will be exposed to the virtual
machine.
PAE stands for "Physical Address Extension".
Normally, if enabled and supported by the
operating system, then even a 32-bit x86 CPU can access more
than 4 GB of RAM."
Well, this setting is actually more than that (Google / Wiki
it). My preference is to enable this on newer hardware.
When you're through with this section, click on Display.
Adjust your Video Memory.
If you have a video card with 256MB or more memory then
crank it up!
Extended features - I enabled both for Windows Guest OS.
Click on Storage when you are through here.
Add the ISO you downloaded to the IDE controller ( I also
like to download and mount GuestAdditions).
If you are going to install from CD/DVD then leave an empty
CD drive.
You can configure the controller type on the right side of
the screen.
The SATA Controller:
-You need to have Use host I/O cache enabled.
-To use XP as a Guest OS you
may need F6 drivers. These are Intel RST drivers
(text mode).
-If your .vdi file is on the IDE Controller and you want it
on the SATA controller.
1 - Create an SATA Controller if one isn't there (below the
Storage Tree box).
2 - Delete the .vdi drive under the IDE Controller.
3 - Add the .vdi drive under the SATA Controller.
Click Network when you're done here.
The default Network Adapter is NAT. Change it to Bridged
Adapter if you want to network to/from the Guest OS.
Click OK.
You're ready! Click Start!
Screenshot of Windows XP and Windows 7 running under
openSUSE 11.3 (click pic for a larger image).

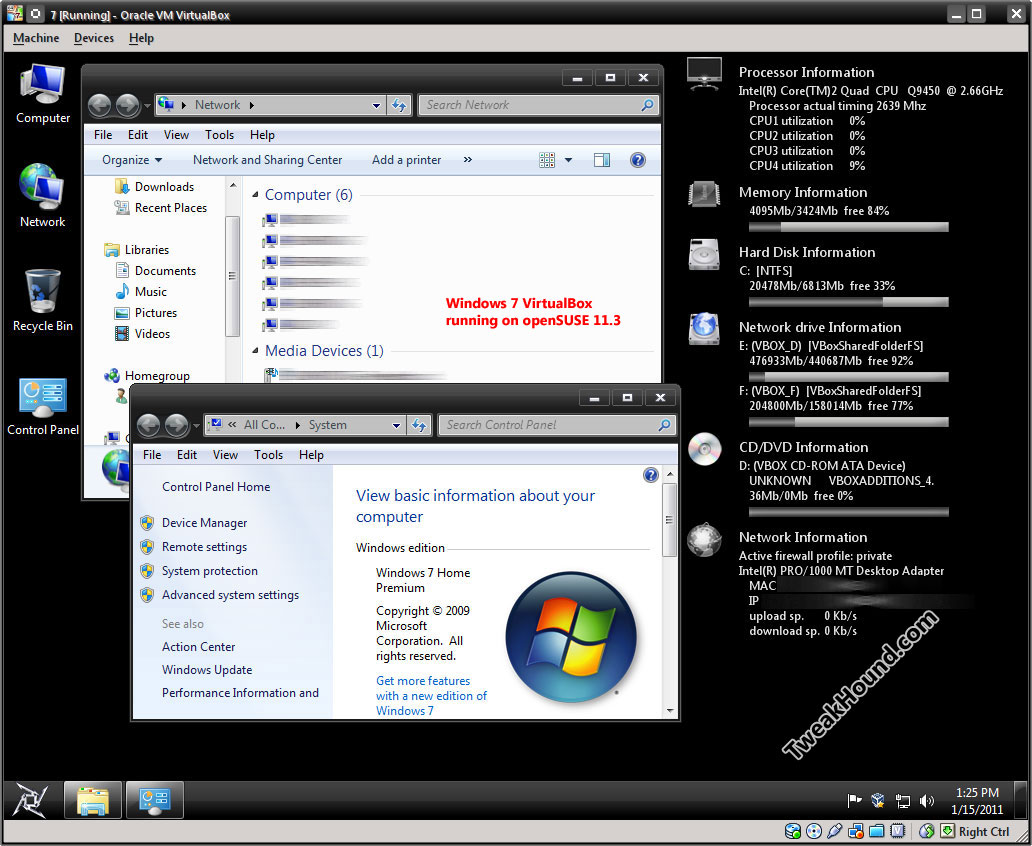
Screenshot of Windows 7 running under openSUSE 11.3 (click
pic for a larger image).
-END-
Article Index
Page 1 -
Introduction
Page 2 -
VirtualBox Under Windows
Page 3 -
Using VirtualBox 4 in openSUSE (openSUSE Host, Windows XP
and Windows 7 Guests)
Tweaking Windows 7
Installing Windows 7
TweakHound's Super XP Tweaking Guide - SP3 Final
Tweaking Windows Vista
The Right Way To Install Windows XP
Installing Windows Vista
The
Freeware XP Machine
The Vista
Freeware Machine
Windows XP
Backup Strategies For Home Users
Windows Vista Backup Strategies For Home Users
Installing
Suse Linux 10.3
How To Samba With Suse 11.2 And Windows
iTunes,
iPod File Types & Quality

I use True Image 2011 for all my OS backups and Disk Director 11.0 for all my partitioning requirements.
TweakHound readers often get a discount off Acronis Products. Click the links for more info.