 Years ago I had converted some of my LP’s to digital. Since then my record player (henceforth refereed to as a turntable) had died and my LP’s were stored away. I’ve recently decided to bring that music back to life.
Why?
1 – Because I enjoy both the sound and the experience of playing LP’s.
2 – To bring some of that sound and experience to my digital collection.
Why This Guide?
I’m no audio expert, though I would love to be. In the process of researching both turntables, recording software, and recording techniques I discovered a litany of conflicting and often bad advice. This guide is the solution for digitizing LPs I came up with for myself.
– – – – – – – – – –
Equipment – Turntable (GIGO)
GIGO is a Geek acronym for Garbage In, Garbage Out. This term is appropriate for digitizing LP’s. If your turntable sucks then so will the music you create from it.
Many of you may already have a turntable that you find suitable for this task. My only advice here would be to change / upgrade that needle.
Belt-Drive vs. Direct Drive
I’ve encountered several articles, reviews, forum posts by supposed audiophiles recommending Direct Drive turntables. As I’ve said before I’m no audio expert but one thing I remember from back-in-the-day is that you want a Belt Drive. There are of course high-end exceptions to this rule.
USB Turntables
In the last several years USB turntables have become all the rage. These things are said to be easy to use and less expensive than their old-school counterparts. I went out and bought one, set it up, and played and recorded a couple of records. I put it back in the box a returned it. I didn’t like the sound at all.
An excellent source for more info on this topic is here: USB Turntable Comparison Guide another is here: Audacity Wiki, USB Turntables.
Analog Turntables
These are regular turntables. I went this route. There is no end of advice and reviews about turntables on the internet. Most of these seem to think we are all filthy rich. I was looking for an “audiophile” quality turntable at a regular guys price. My budget was under $500. Several names kept popping up and this blog post sums it up nicely: Top 5 Beginner Turntables for Vinyl Enthusiasts.
My Turntable
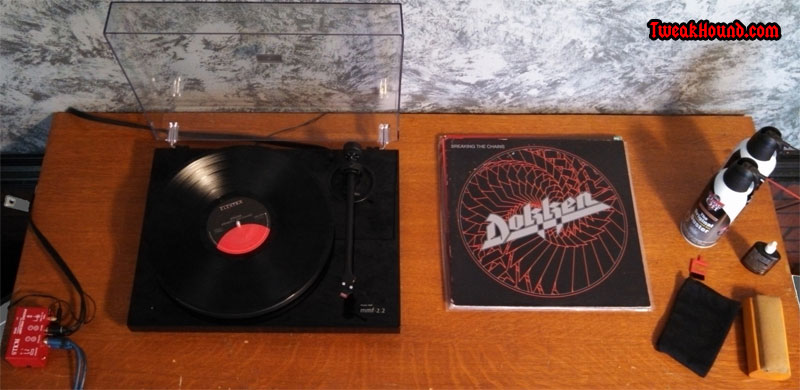
I choose the Music Hall MMF-2.2. It is available online for around $450 (I found it at a local shop for that amount).
Phono Pre-Amps
To get audio into your computer you are going to need a phono pre-amp**. Some record players come with a pre-amp built in though many audiophiles cringe at this. You can get an analog pre-amp or USB pre-amp depending on your needs***. I went with the Rolls VP29 largely because the shop where I bought the turntable had it. Available online in the $50 range, it wound up being a fantastic combination with my turntable. Someday I hope to be able to afford a tube phono pre-amp like this.
**Many USB turntables do not need a pre-amp. Also, if you run your turntable through a stereo receiver you do not need a phono pre-amp (though this may increase noise). This is what I did in the past.
*** A USB phono pre-amp bypasses the need to connect your turntable/analog pre-amp to your sound card. Although I do not use one the ART USB Phone Plus gets good reviews.
My Turntable Setup:
Equipment – Sound Card
If you’ve decided to go the USB turntable or USB phono pre-amp route then this section does not apply as you’ve already solved this issue.
There are different ways of getting sound into your computer. Many PC’s and laptops come with onboard sound that have a mic or line in input. I’ve found these to be less than ideal. There are two better options:
1 – External USB sound card: You plug your turntable line out to these. I’m not a big fan of this solution but if you have a laptop this may be your only option (find one with RCA inputs). Something like the Creative Soundblaster X-Fi Surround 5.1 Pro USB Audio System should do the trick.
2 – Internal sound card: For PC’s this is your best option. I highly recommend finding one with RCA inputs (or you may need an rca to mini adapter).
An examples of an internal sound card with RCA input:Creative Sound Blaster X-Fi Titanium HD
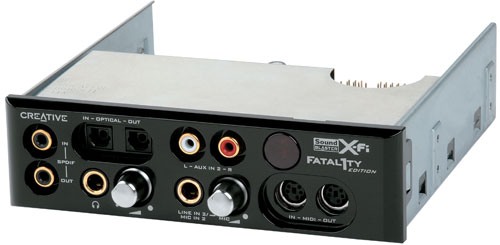
I have the Creative Sound Blaster X-Fi Fatal1ty FPS (discontinued). This came with a front drive bay that has RCA in.
Equipment – Hard Drive
You need somewhere to store your music. Whether internal or external be sure to get a drive big enough to hold it all. How I do it:
1 – Rip to a large partition I’ve set up just for this process. I also convert the wav file to mp3 and/or flac files there.
2 – Once finished I transfer those files to a drive dedicated to just my music (Seagate Barracuda 3TB 7200RPM 64MB Cache SATA 6.0Gb/s).
3 – Back it up to an external drive (Seagate Backup Plus 3TB USB 3.0).
– – – – – – – – – –
Vinyl Recording Software
There are many programs that will allow you to record your vinyl. I’m only going to cover what I use.
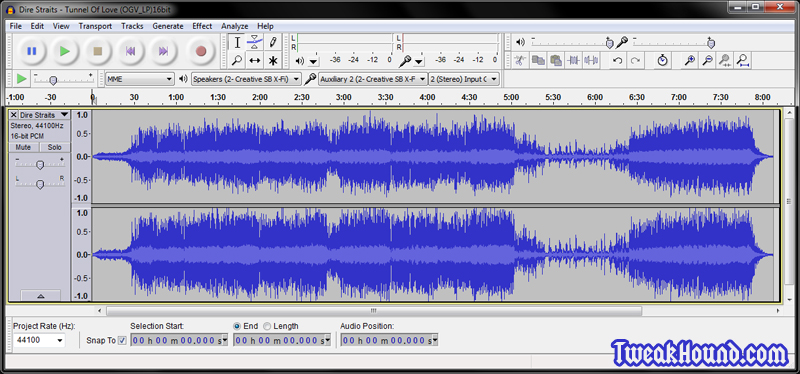
Audacity
Audacity is a free program and is often the recommended software for this. Indeed it is more than adequate for most users. One important note is that under Windows, Audacity does not really do 24-bit depth or higher even though it says it does. More on this later.
You don’t need a guide from me on this. The Audacity Manual has everything you need to know: Tutorial – Copying tapes, LPs or minidiscs to CD
*If using Audacity, be sure to switch the sound quality to 16 bit-depth (refer to the tutorial above). See the section Bit-depth and Audacity below for an explanation.
Sony Sound Forge Audio Studio 10
Sony Sound Forge Audio Studio 10 is priced at $65 online and downloadable, and $40 at Amazon with free shipping. If you buy a boxed version be sure to head over to the Sony support site and download the latest version.
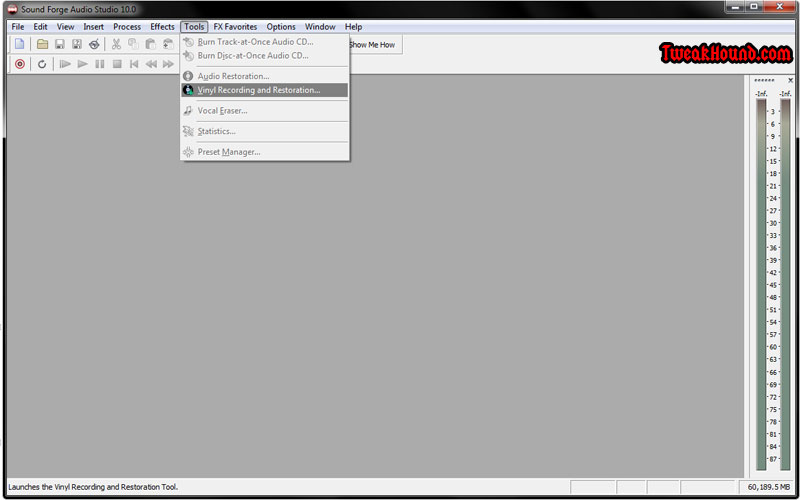
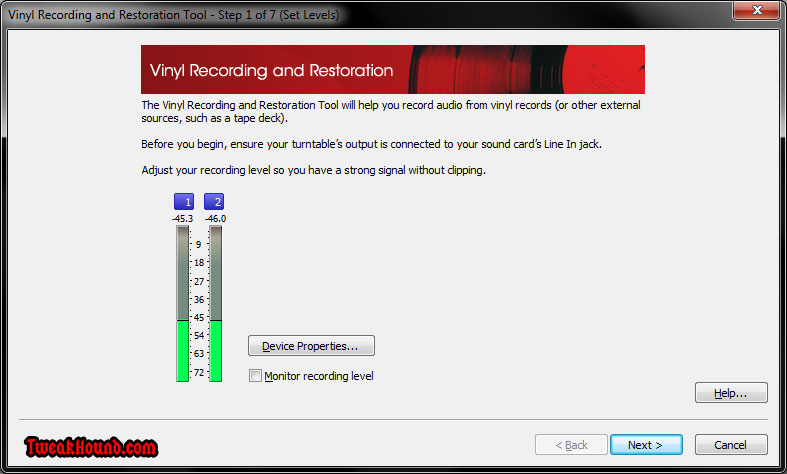
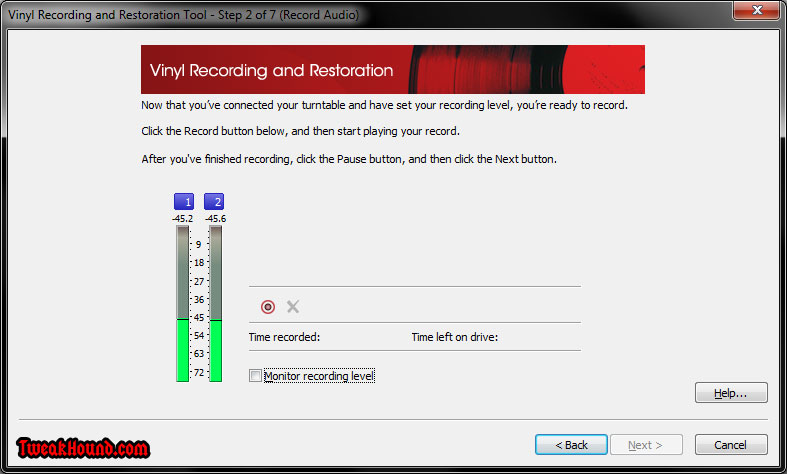
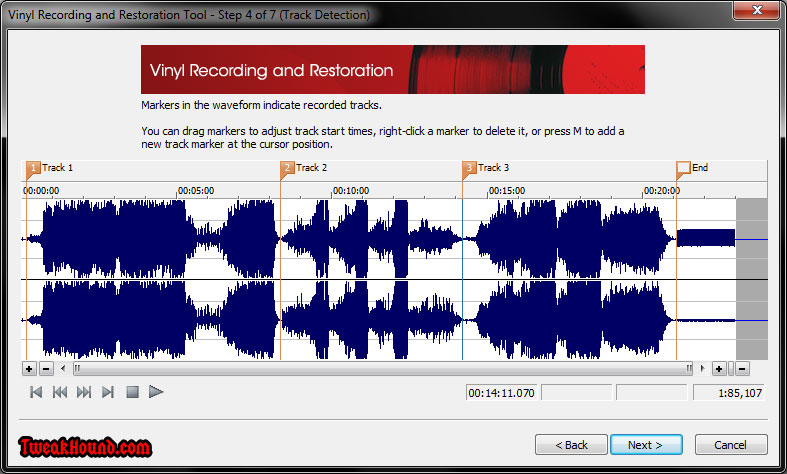
Most of the time I prefer using this program over Audacity. It features a Vinyl Recording And Restoration Tool. This allows for automatic track splitting, and audio cleanup. Although the track-splitting is pretty good be sure to check and adjust the markers before saving your files. It should be noted that this tool operates in 16-bit depth mode although the program is capable of higher (and I see no way to change it). When I actually do 24-bit depth recording I just use the program in normal record mode and split the tracks manually as I would in Audacity.
Noise Removal
I actually loathe these tools. Most of the automatic tools just piss all over your recording. After trying them for a time you’ll find they often strip out valuable sound too. If you are really patient and/or anal-retentive then Sony Sound Forge Audio Studio tool is highly adjustable. When I have to use noise removal I use Audacity which allows me to create my own noise filter. Follow the instructions here: http://wiki.audacityteam.org/wiki/Noise_Removal#Noise_Removal_steps
Making The Sound Louder
This function is often referred to as normalize or amplify, confusing the two terms. These functions are actually different. I will lay this out as I understand it.
Normalize – Finds the maximum volume and brings the entire wave up evenly based on that peak.
Amplify – Brings everything up regardless of peak. This can lead to clipping if you amplify too much.
Clipping – For the purposes of this article, clipping occurs when you over amplify a wave. As an example this could bring the lead guitar, bass, drums and vocal all to the same levels. When this gets too high the sound can become distorted.
For more on these topics see:
Audacity Wiki – Amplify and Normalize
If possible I recommend against using these functions (it isn’t always possible). Try to get your sound to peak volume by adjusting the gain on your equipment.
– – – – – – – – – –
Bit-Depth
First off, please do not confuse this with bit-rate. Bit-depth is entirely different and the argument over which rate to use can cause 2 audiophiles to come to blows. Everyone has their opinion and you are about to get mine. 😉
If you have no knowledge of this topic then see here: http://en.wikipedia.org/wiki/Audio_bit_depth
For vinyl recording the bit-depths that are usually discussed are 16 and 24.
24-bit files as you Geeks may surmise, are about 50% larger than 16-bit.
Obviously these files carry more information. However, whether you can hear that difference and if you could what kind of equipment it would take is what will bring the 2 aforementioned audiophiles to blows. (take that sentence English teachers! 😉 )
24-bit: File Size and File Conversion
I am only using 24-bit for my best records. I save these files as .wav or .flac files. Recording to 24-bit for the purpose of saving to a lossy format like MP3 is completely, 100%, unadulterated, inarguably a waste of time. And no, given my equipment I cannot hear the difference.
I recorded a wav file at 24-bit, the converted a copy to 16-bit. I then made mp3 and flac copies from the respective files. See what they look like below. Note that the mp3 files are identical and that the 24-bit flac file is larger than the 16-bit wav:

Bit-Depth And Audacity
*Update (07SEPT2013) This issue seems to have been fixed in version 2.0.4.
As I stated before, under Windows, Audacity does not really do 24-bit depth or higher even though it says it does. Now, I absolutely love Audacity and routinely sing its praises but this matter has me a bit miffed. This issue needs to be fixed or the ability to adjust this setting above 16-bit needs to be removed. At the very least they need to change the default recording bit-depth from 32 to 16.
I actually just stumbled upon the fact that Audacity (under Windows) fakes 24-bit by accident when researching recording vinyl.
The gist of the matter is this (and if I got this wrong then someone school me):
Apparently Audacity uses PortAudio for its audio I/O library. Under Windows Vista and later the ability for PortAudio to interface with hardware was limited (emulated) due to the API they were using. PortAudio seems to have fixed this by adding an API (WASAPI). We seem to be waiting for Audacity to add this ability (this post says that the nightly/alpha versions support it).
So Audacity (under Windows) seems to be padding 16-bit files to 24 and 32-bit resulting in larger files for no reason.
From Audacity:
“Recording at 24-bit quality or higher isn’t possible even with devices that support it due to current limitations in PortAudio.”
and
Emulated output and input: In Vista and 7 (but not on earlier versions of Windows) both the MME and Windows DirectSound “Host” choices supported by Audacity are emulated on top of WASAPI. This means they may have greater latency than under earlier versions of Windows. Also the emulation is believed to be 16-bit, which would set the noise floor at -96 dB. WASAPI is not yet supported by Audacity as a direct Host. Therefore while Exclusive Mode under WASAPI does in principle allow bit-perfect audio transfer without emulation, this is not yet possible in Audacity under Windows Vista or 7.
– – – – – – – – – –
Preparing To Record
Preparing Your Turntable
After your turntable is connected to your computer. Fire up your turntable, put a record on it and open your recording software. You may now need to adjust the input volume. Try several records and types of songs.
See: Setting Up Audacity or for Sony Sound Forge Audio Studio see the Recording section in the help file.
Preparing Your Records
Dirt, dust,and fingerprints will ruin your recording. You need to clean those records. There is no end to opinions, equipment, and methods recommended. I’ve seen some outlandish sounding suggestions that some folks swear by, including using wood glue! There are machines, brushes, solvents, etc. I’ve always been a stickler for cleaning my records and fortunately I’ve never come across a really dirty one. Below is the method I have always used.
If it’s dirty:
1 – Use a can of compressed air and blow off what I can.
2 – Use a soft lint-free cloth and 90% Isopropyl alcohol to clean record.
3 – Use can of compressed air again.
If it’s just got a little dust or lint on it:
1 – Use a can of compressed air and blow off what I can.
2 – Use a soft lint-free cloth or felt brush.
3 – Use can of compressed air again.
Generally I buy a record cleaning kit every so often and use the pieces from that. The kit I got from the local record shop was like this.
Converting The Wav
I record straight to wav file. Then after editing I convert most files to 320-bit MP3’s, the special ones to FLAC, and the super-special ones a copy of the WAV is saved.
The program I use is dBpoweramp. This is a pay for program ($38) that I’ve used for years. It combines 2 products; a sound converter and a cd ripper.
A good freebie is LameXP.
Now your ready to go! Got any tips? Please post them.
-END-