This article will show you how to do a clean install with the Windows 8 upgrade media.
From my experience doing a clean install of Windows 8 with upgrade media is almost exactly like doing it with Windows 7.
Caveat, the Terms and Conditions of using the Windows 8 upgrade states :
“Each upgrade license applies to only one PC and you can install the upgrade only on PCs that have a valid base license and one of the following operating systems: Windows 7, Windows Vista, or Windows XP (SP3).”
I’m not your conscience or your mother. What you do with that info is on you.
PLEASE – Read through this entire article before doing anything.
Step 1 -Backup
Backup everything on the target computer (including making a System Image). Several of you will ignore this and then be p*!@ off at me when you mess something up.
See: Backup Article Greatest Hits – Vol. 1
Step 2 – Prepare the drive
*If you have other partitions that you need on your main hard drive (the one you are installing Win 8 on) and you want to keep them as is then skip this section.
For a clean install I prefer to wipe the target drive if I am not dual booting (and another OS isn’t already installed).
If you are dual booting with Windows 7 you can create a new partition using Disk Management or for more advanced options I use Acronis Disk Director.
To start afresh I am going to show you how to wipe the main drive and create an optimized partition.
***We will be using a destructive disk utility. If you are on a multiple drive system I highly suggest you disconnect all but the main drive before booting.
See:
A Description of the Diskpart Command-Line Utility
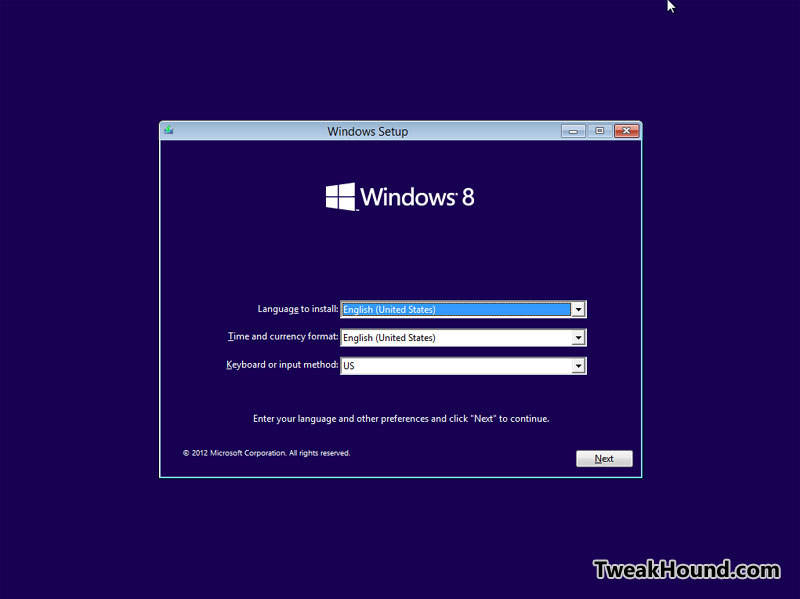
O.K., lets boot from the DVD or USB boot media.
Press a key and lets begin.

Next.
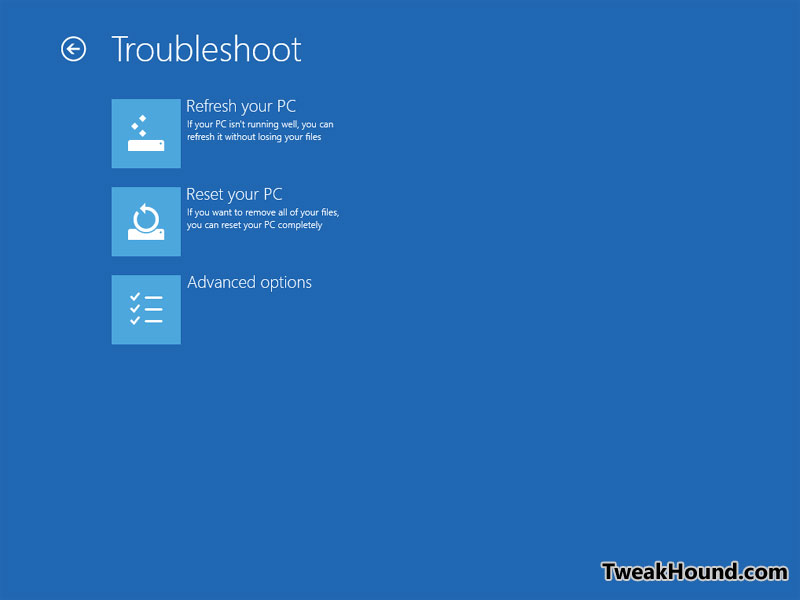
STOP! Choose Repair your computer
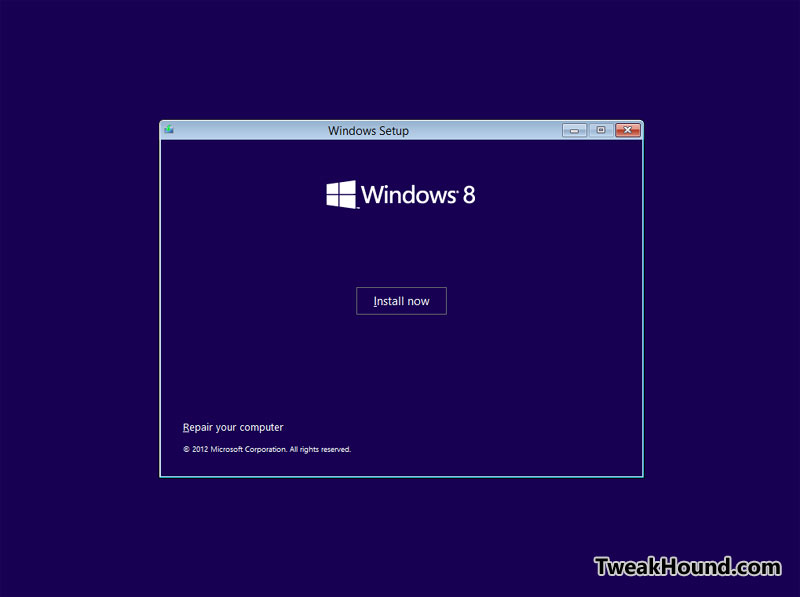
Click Advanced options
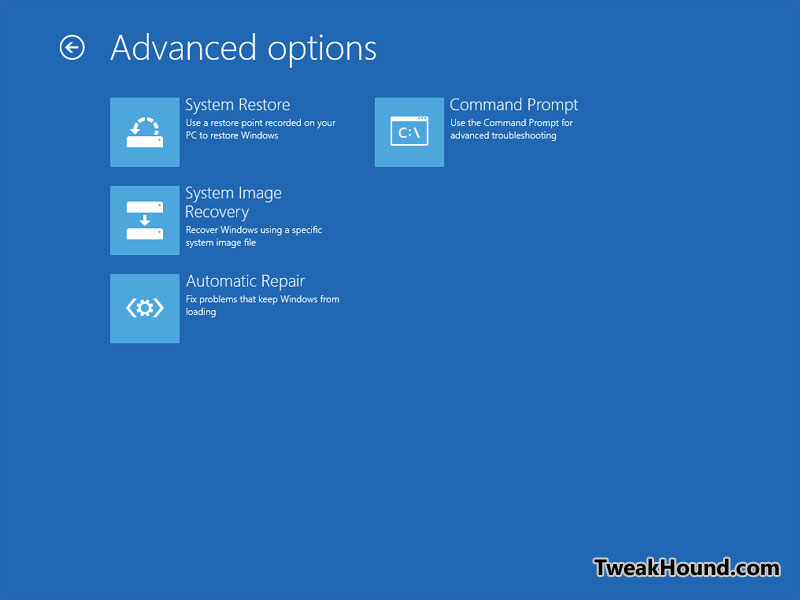
Click Command Prompt
***PAY ATTENTION TO EVERYTHING IN THIS SECTION***
We are going to use diskpart. It is an advanced utility that can wipe out your stuff with the press of a key.
There are no “are you sure” ,double-check pop-ups. When you press ENTER thats it.
If you are using a computer with multiple drives you may want to disconnect it before running diskpart (with the computer off).
Keep in mind. Disks are numbered starting at 0. Partitions are numbered starting at 1.
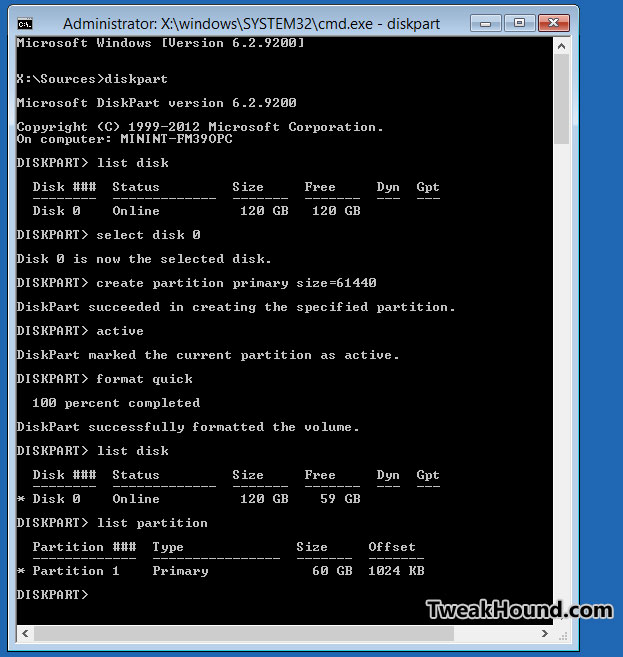
– Type > diskpart (hit Enter key)
– Type > list disk (hit Enter key) If you are on a multiple disk system find your main disk (be sure).
– Type > select disk 0 (hit Enter key) (where the disk number is the number of your main disk).
– Type > create partition primary (hit Enter key) if you wish to format the whole disk
-or-
– Type > create partition primary size=SIZE (hit Enter key) where SIZE is the size of the partition you want.
The size is in MB. 1024 MB = 1 GB
In the example below I created a 60 GB partition.
– Type > active (hit Enter key) (tells the BIOS to boot from this partition)
– Type > format quick (hit Enter key) (formats the drive with NTFS which is the Windows 8 default)
Lets check our work
– Type > list disk (hit Enter key) ( if you are on a multiple disk system choose the disk # you were just working with).
– Type > list partition (hit Enter key) . You should see the partition you just created.
Notice the Offset section and the offset for your new partition is 1024 KB. That puts the partition in optimum position for SSD’s.
Exit out of the screen and shut down and restart your computer.
Step 3 – Installing Windows 8
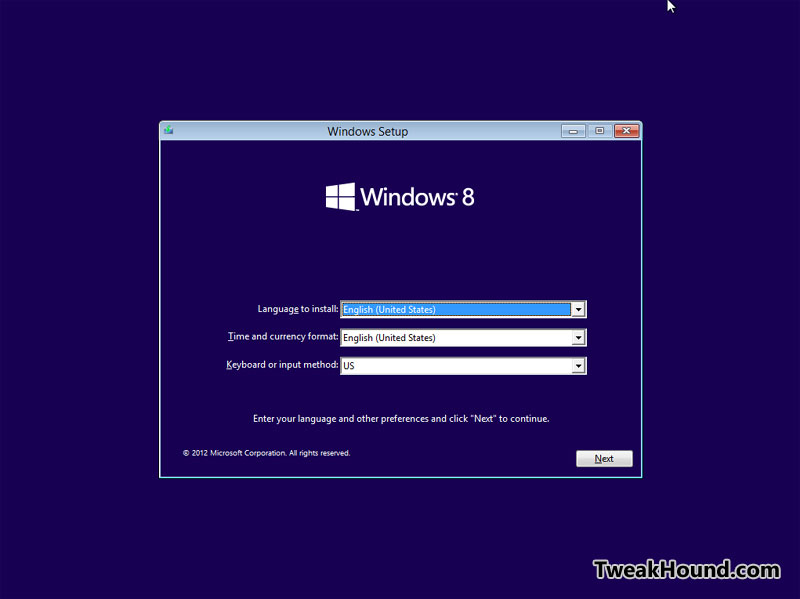
Boot from the DVD or USB boot media.
Press a key and lets rock.

Next
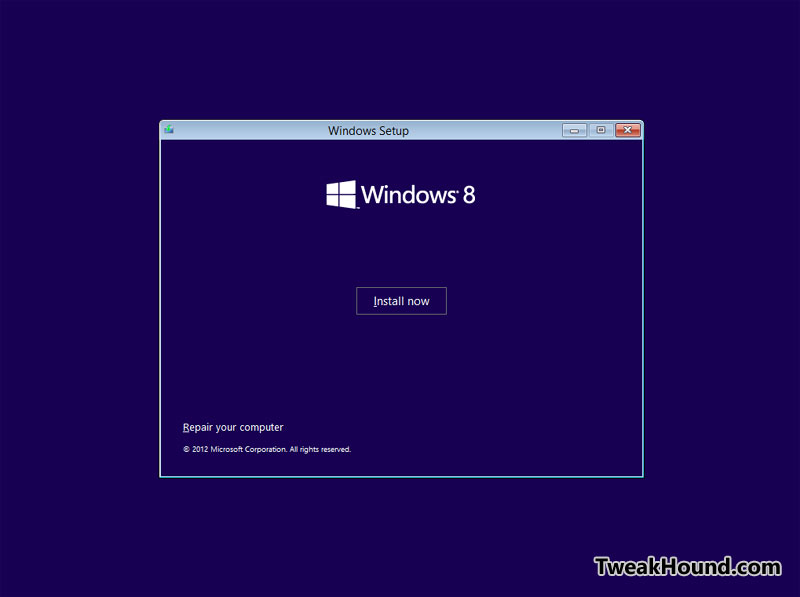
Install Now!
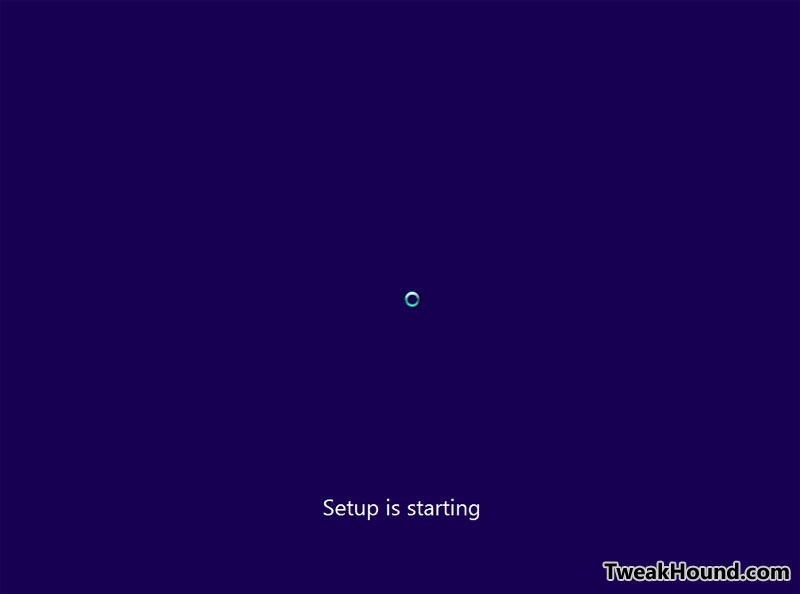
Sigh…always waiting………
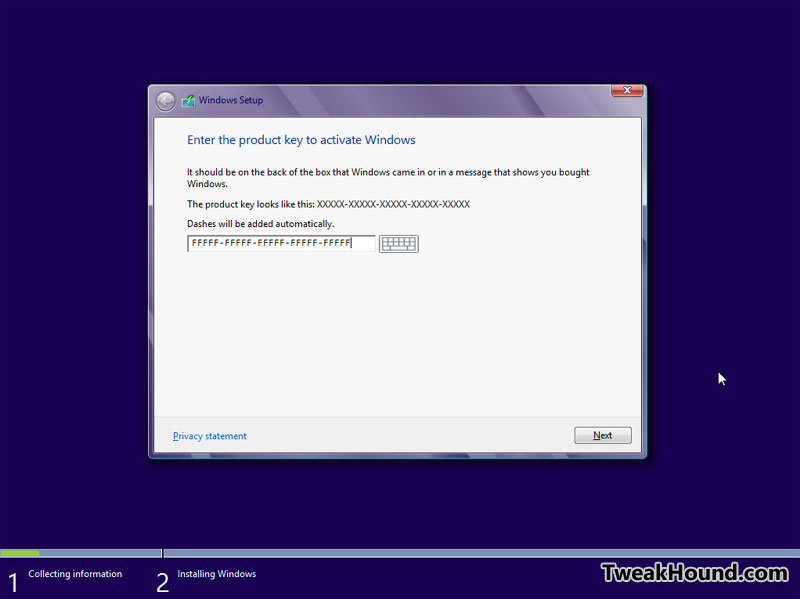
Enter the key.
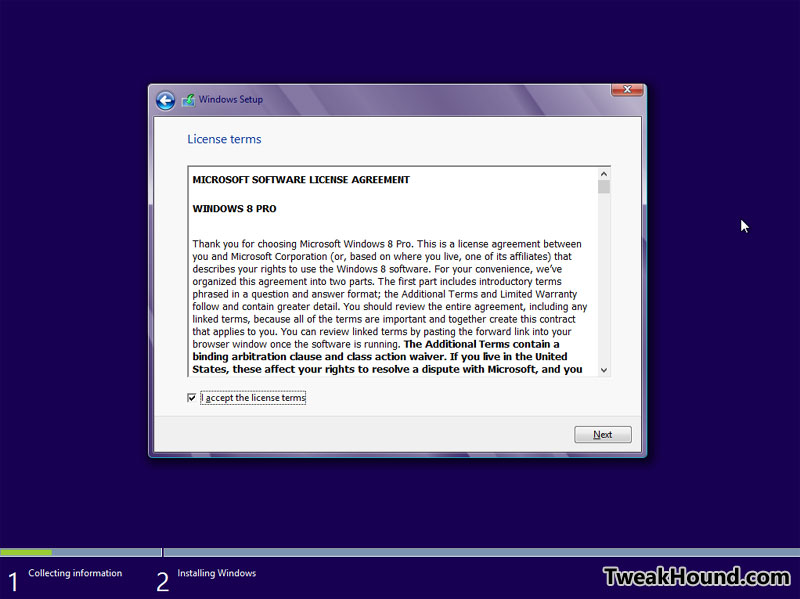
Click the box to sign away your first born.
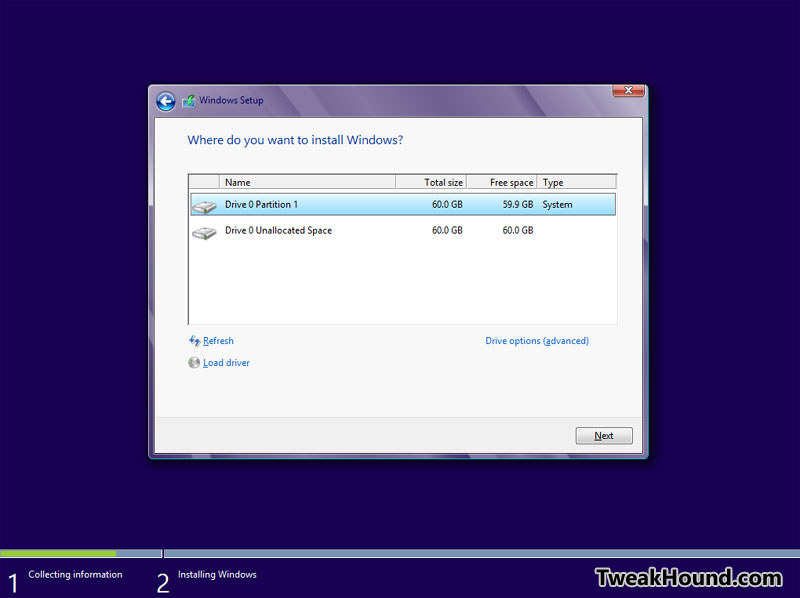
1 – If you created a new partition prior to install (like the instructions above) then choose it and click Next.
-or-
2 – If you are using an existing partition then choose Drive options (advanced) and format the partition then click Next.
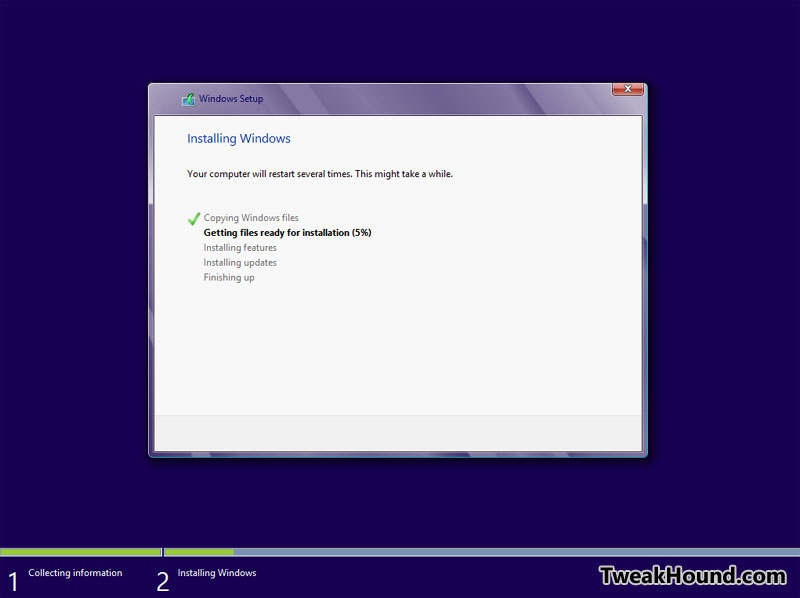
Grab a beer and sit back.
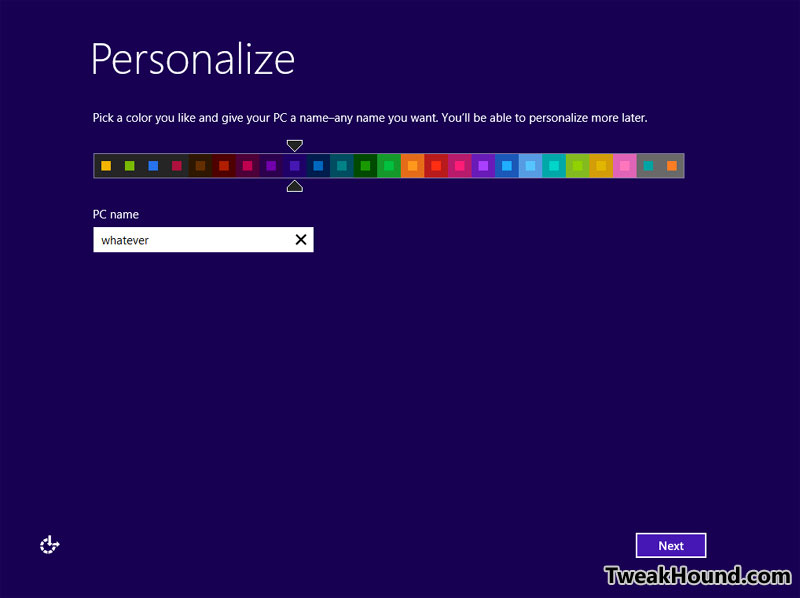
You can customize later. Enter a name for your computer and click next.
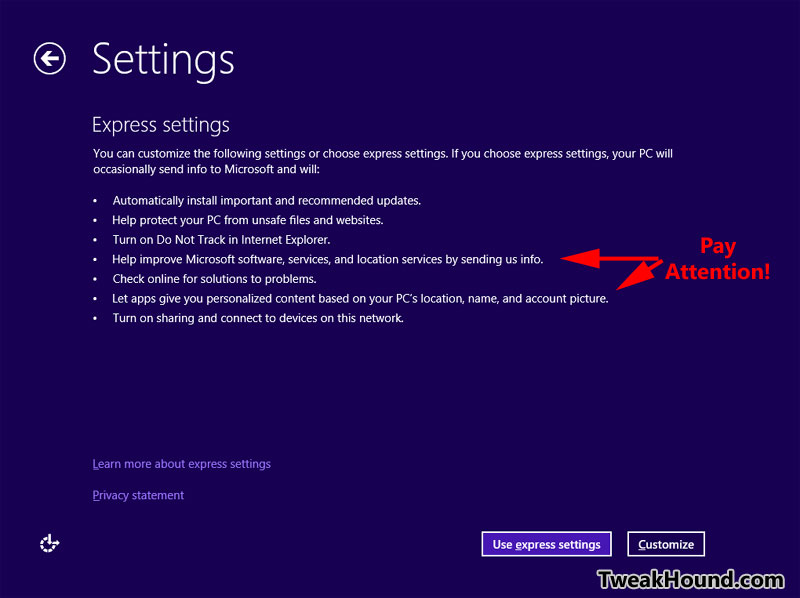
My advice is to choose Customize and pick which settings you want.
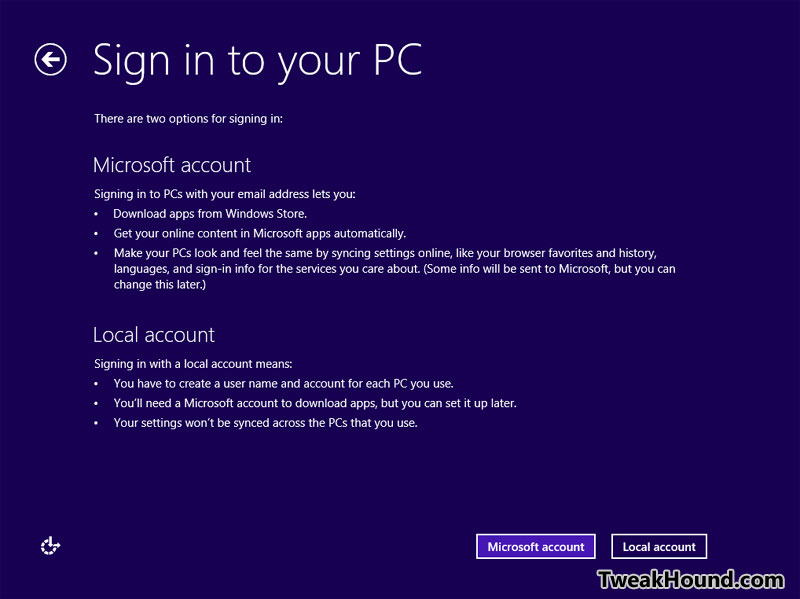
Despite the earlier ramblings of haters, you do not need a Microsoft account to use Windows 8.
You will need an Microsoft account if you want to use the Store or Sync, BUT, you don’t have to sign in with it.
My preference is to sign in with a local account (like you always have) and then sign in to the App store later as needed.
To do that choose Sign in without a Microsoft account
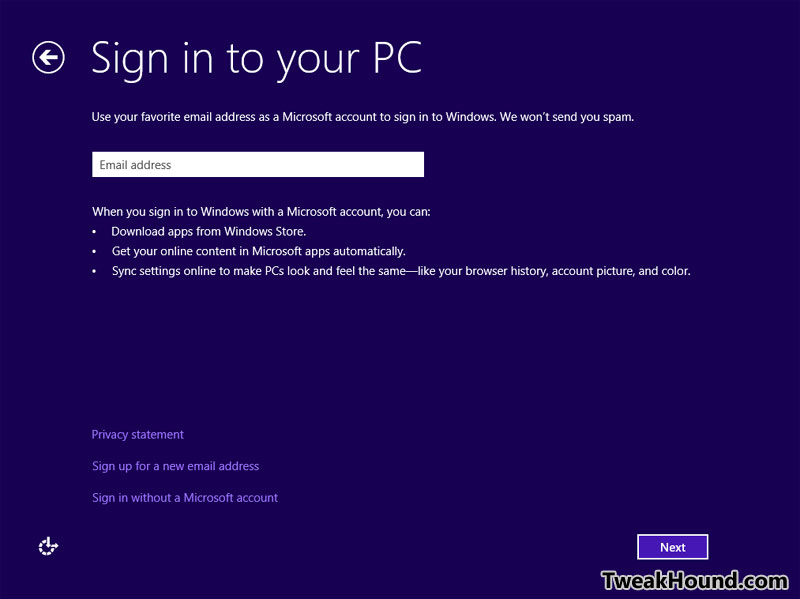
Local Account
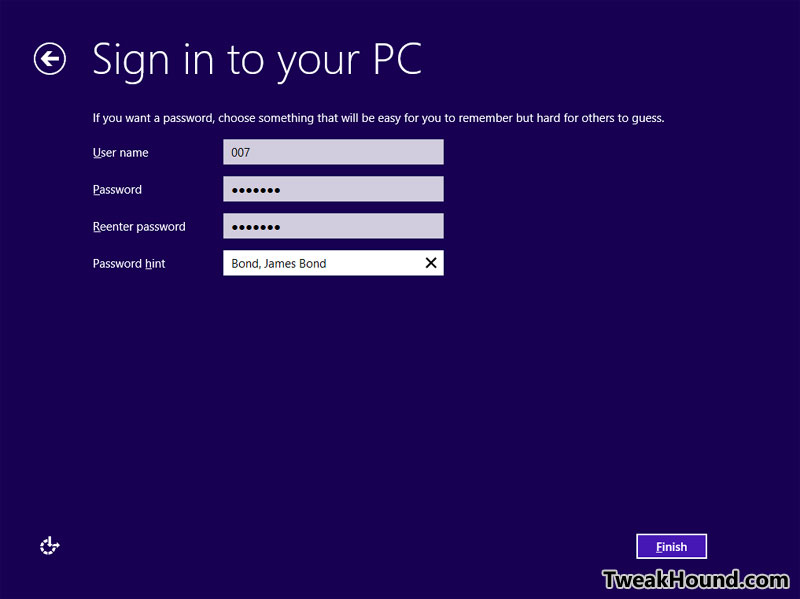
User, pass, etc.
WAIT!
Step 4 – Activation
You’re done installing but we still have to activate.
You have an upgrade key and you did a clean install. If you wiped the drive prior to install then activation may fail.
If this happens or if you don’t want to take the chance of this happening then use the same steps that Microsoft allowed in Windows 7.
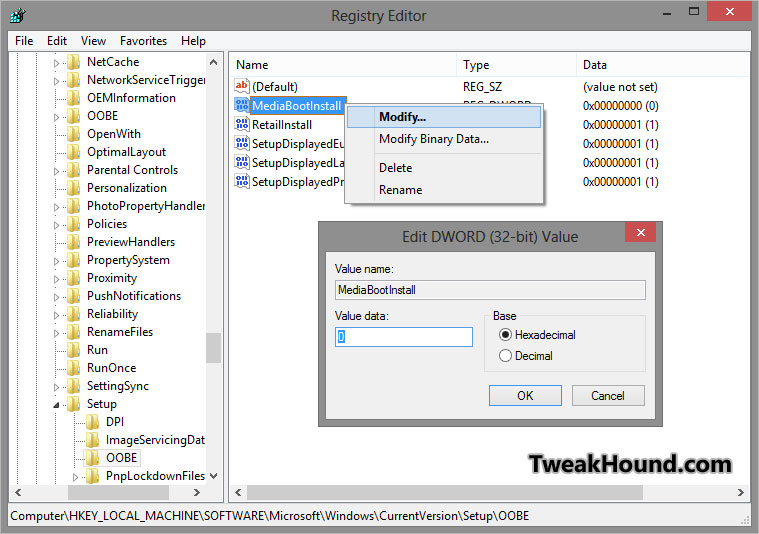
1 – Open the desktop, press the Windows + R keys and type regedit
2 – Go to HKEY_LOCAL_MACHINE\SOFTWARE\Microsoft\Windows\CurrentVersion\Setup\OOBE
3 – Right-click on MediaBootInstall and choose Modify
4 – In the Value data: box change the number to 0 (0 as in zero), click OK and exit regedit.
Now, we need to open an elevated command prompt (see – Windows 8 – Elevated Command Prompt).
1 – Once in the elevated command prompt window enter slmgr /rearm
2 – Wait for confirmation and then reboot.
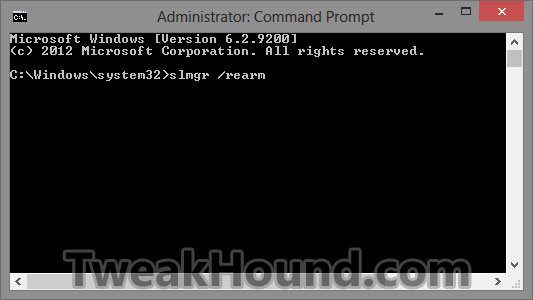
You can now activate Windows. Find the activation screen either in Control Panel or by searching activate.
-END-
