*** Please stop by the new home page for new and updated content. ***
|
*** Please stop by the new home page for new and updated content. *** |
|
|
Installing Suse Linux 10.1
This article is a "walk-through" of how I've installed and configured Suse Linux 10.1 on 5 machines. This will be updated as I find things that may be of interest. Please do not contact me with tech support questions. You'll find people far more qualified to answer any questions at the 2 forums listed below. At some time or another I've found most of what I know of Suse there. I hope that you will find this information helpful in your dealings with Suse 10.1.
(Use the search function of these forums before asking questions, chances are your question has already been answered.)
A couple of notes: - I use the KDE desktop, no Gnome info here. - You'll see the term "kmenu" used here. That is the KDE "start" button (green button, lower-left in the task bar).
Dual Booting All 5 computers in my example will dual boot Windows XP and Suse 10.1. Preparing your Windows box: If you are going to use the same hard drive you'll most likely need to resize the partition that Windows is installed on. The first step is to back up your data...ALL OF IT (No joke people, don't whine at me if you hose your Windows install or lose data). I use Acronis True Image. The second step is to defrag your hard drive. The next step is to resize the partition. Windows cannot change the size of the partition it is installed on, for this I use Acronis Disk Director.
Files You'll Want From Your Windows Installation: (It may be a good idea to burn the following to CD. At the vary least you'll want these on a partition that you plan on having Linux read from.)
Fonts - Go to C:\WINDOWS\Fonts, copy the entire folder to another partition or folder. In the new folder go to the View menu in the toolbar choose "Details" view. Delete any files that are not a "True Type Font file". Next you may want what is known as "Microsoft True Type core fonts". As of this writing these files aren't available at the usual Suse download locations. You can do a Google search to try and find these, or you can go through your fonts and find these fonts in the following table and copy them to a new folder at the same location as the last one you created. Name this folder "msttcorefonts" (that is a hint for the Google search).
Bookmarks - If you use Firefox in Windows you can easily save your bookmarks for use in Firefox in Windows. Open Firefox, in the menu at the top click on Bookmarks > Manage Bookmarks... > choose Export > choose a location and name for the file.
System Hardware Information During and after your Suse 10.1 installation it will be useful to know exactly what hardware you have. You may want to print out hardware specifics to help you with hardware setup in Suse. Below is a small list of system info tools I use: Device Manager - Go to Start > Run > type devmgmt.msc > press OK. You can print out the specs. This may not give you all the info you'll need. System Information for Windows - Great but may contain more info than you need. No direct printing. Sandra 2007 Lite - Excellent. Full list of free and pay-for System Info tools at Major Geeks.
Boot Manager You'll need a method to choose between booting Windows or Suse. I choose never to let Windows or Linux access each other so I use methods that allow me do that. On all my PC's I'm installing Suse on I'm using a completely separate hard drive just for Suse. The BIOS for all my motherboards lets me choose which hard drive to boot from by pressing F8 at boot so I use that to manage my dual boot. On my laptop I've only a single hard drive (and do not have the easy boot options above) so I use Acronis OS Selector, part of Acronis Disk Director to manage this.
The Install (I'm not going to walk you through every installation screen, I'm just going to show you some of the options I use.)
Step #1 - Go to openSUSE and then to the documentation section. Make sure you have access to this section during install either from another computer or by printing out any sections you feel you may need.
Your BIOS - Make sure your BIOS is configured to 1 - Boot from your CD/DVD player, and 2 - The next disk after the CD/DVD player should be the disk that you'll install Suse on.
Insert the Suse DVD or CD1 and let's get to it... It is imperative that you PAY ATTENTION to each and every thing you do during install!
When you get to the Installation Settings screen:
Partitioning & Bootloader Here is where you will make your most critical decisions. What and how you want to partition and where to install your bootloader. See the screenshoots below to see how I partitioned my hard drives. You can see what drives/partitions I choose for Suse, what XP drives/partitions I allowed Suse access to, and where I mounted those drives. Suse 10.1 did a fantastic job of configuring the right options for me to access those drives without problem. As far as a boot loader, there are too many variables to give you detailed advice as to your setup. The best thing I can tell you is that given the info I gave you in the Boot Manager section above I always install my Linux bootloader in the drives/partition containing Linux and do not allow it to interact with Windows. In other words if I install Linux on a separate drive, say "sda" the bootloader goes on "sda". If I have a single disk and I install Linux on "hda3", that is where I put the bootloader. (click on thumbnails to see full-sized pic) Partitioning Examples
Bootloader Example
Packages Once you reach the Desktop selection screen you'll have to choose a desktop. I use KDE. By choosing "Details" and "Search" I choose to install/not install various things. Poke around and make your choices. Remember, you can always install it later.
I do not install - Beagle, apparmor, anything to do with dvd or mp3 playback (amarok, xine, kaffine, etc.). On machines where I do not need it I don't install things related to wifi, bluetooth, palm pilots, phones (that sort of thing).
I do install - SMART (***It is critical to this guide you install SMART***.) I also install Mozilla Thunderbird, Opera, knemo, apt, apt4rpm.
nVidia Graphics cards (sorry, I don't do ATI on Linux boxes if I can help it) - If you want nVidia 3D support you'll need to install these ahead of time: gcc, ruby, kernel-source.
Info on installing the ATI 3D drivers is at the Jem Report, Hacking Suse 10.1.
First Reboot Here is where you'll configure Root, Users, Network, and hardware. If everything went well your network should be up and running and 2D video support enabled. One tip/warning; When you reach a screen that asks you to register, choose "Later".
Finished If the installation finished and you rebooted into KDE things are looking good....
Setting Things Up
Backup Unfortunately Linux has no native imaging program for backup. I use Acronis True Image to backup and restore my Linux disks and partitions. It continues to work flawlessly for me. Whatever method or program you use to backup you'll want to start using it right now and a few more times along the way. Trust me, it'll save you a lot of time and frustration.
Now that you've made a backup...
Desktop I do not use screen savers, power schemes, or multiple desktops. To configure this, right-click on the desktop and choose "Configure Desktop". You'll find these options in the Screen Saver section, the Multiple Desktops section, and the Display - Power Control section.
Taskbar I remove entries from here including Suse Help, Desktop Preview & Pager, etc... To do this right-click on the taskbar and choose remove applet and/or application.
Double-Click I've never gotten used to the default single-click with KDE. If you want to switch it to use a double-click instead, Go to kmenu > Personal Settings > Peripherals > Mouse > In the Icons section, check the button next to Double-click to open files and folders > click Apply.
nVidia 3D Support This is about as quick and easy as it gets folks. Insure you installed gcc, ruby, and kernel source.
Open up a terminal, type su and hit enter, type your password and hit enter, type init 3 and hit enter.
Once the screen enters init 3 login (type root and hit enter, type your password and hit enter).
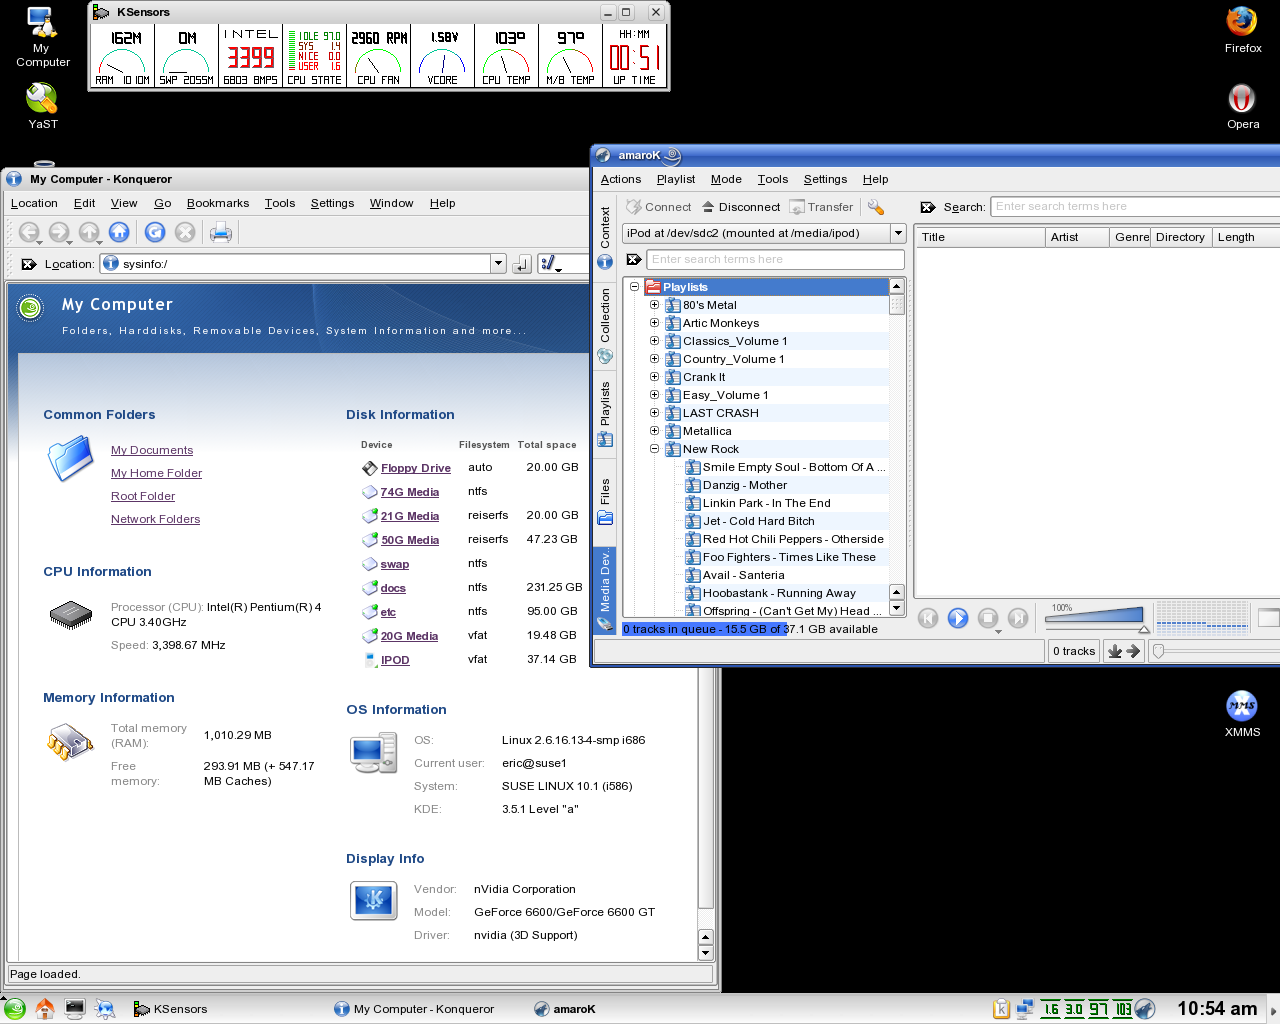
Next type this exactly (note the space after "installer): tiny-nvidia-installer --update. Answer the questions as you go. When everything is done type reboot. You should briefly see the nVidia logo during boot. You can easily see if 3D support is enabled by opening My Computer. If you aren't at the system info screen you can get there by typing sysinfo:/ in Konqueror, check the bottom-right of that window.
Next Boot...
Adding Fonts Navigate to where you saved the fonts as discussed earlier. Fonts from the Windows Folder, select all of them, right-click and choose install, a screen will pop up, choose Personal. Msttcorefonts, select all of them, right-click and choose install, a screen will pop up, choose System.
To change the fonts your system uses: Go to kmenu > Personal Settings > Appearance & Themes > Fonts. Adjust as you see fit. Usually I choose Adjust all fonts and use Arial size 12. Click Apply.
For more info see a great guide here: Optimal Use of MS TrueType Core Fonts for a KDE Desktop on SuSE
Configuring Sources There are 5 varying methods for installing software in Suse 10.1. I highly suggest that you pick one method and only use that method. I use SMART and it has performed flawlessly.
1 - Manually finding an RPM and installing it. This does not install your dependencies. 2 - YAST. This does resolve dependencies but not that great at finding/sorting things. 3 - APT. This is really a manual method that resolves dependencies. 4 - Online Update - Great idea, ahem...except it is broken as of this writing. You'll have to configure this manually. 5 - SMART - Probably the easiest method to install software. Highly configurable (still don't like it as much as Synaptic).
Make a backup now...
Important! First step - We'll be adding Suse Updates and updating SMART. If you want to update/install SMART manually see below and you can skip this step. Open SMART, go to kmenu > System > Configuration > Smart Package Manager, choose Edit > Channels > New > Provide channel information > RPM MetaData > fill in the boxes with the info in the pic below. Click OK > In the original SMART window hit the Update Channels button > next go to Edit, Upgrade All. When finished, it is easiest if I just tell you to reboot.
Here it is if you want to copy/paste: Alias: suse-update Name: SUSE Linux Online Updates Base URL: ftp://ftp.suse.com/pub/suse/update/10.1/
After reboot we'll add an APT source to SMART. Open Smart, go to Edit > Channels > New > Provide channel information > APT-RPM Repository > fill in the boxes with the info from these links (choose correct architecture): ftp://ftp4.gwdg.de/pub/linux/suse/apt/SuSE/10.1-i386/examples ftp://ftp4.gwdg.de/pub/linux/suse/apt/SuSE/10.1-x86_64/examples
I use: Alias: gwdg Base URL: http://ftp4.gwdg.de/pub/linux/suse/apt/SuSE/10.1-i386 Components: rpmkeys base non-oss extra update-drpm update-prpm update gnome mozilla samba3 suser-guru packman packman-i686 kraxel wine suse-people suse-projects security-drpm security-prpm security
Click OK > In the original SMART window choose File > Update Selected Channels > choose gwdg (or whatever you named the new channel) > when updated go to View, Hide Non-upgrades and Tree Style, None> next choose Find > type smart > select the following (if more than one version shows up choose the highest number): smart smart-addons smart-gui
Click Apply marked changes > when finished close SMART > Open it back up again, it will ask if you want to add stuff, choose Yes. > click the Update Channels button. You should be set with all the SMART Channels you need!
What My SMART Channels Are (and yes, I know that some of these are redundant)
YAST A list of places (repositories) to add to YAST can be found here: http://en.opensuse.org/Additional_YaST_Package_Repositories PLEASE do every Suse user a favor and use a mirror if available.
APT You can find a full list of APT sources here: ftp://ftp4.gwdg.de/pub/linux/suse/apt/SuSE/10.1-i386/examples ftp://ftp4.gwdg.de/pub/linux/suse/apt/SuSE/10.1-x86_64/examples
It should be noted that several of the sections in the above are experimental (alpha/beta) type stuff, i.e. - kernel-of-the-day. I remove several sources from the list. Be careful here.
Online Update As stated above, it's broken. There is a way to configure this manually but I'm not gonna tell you how to do that. I prefer to wait for Suse to fix this.
SMART If you did not install SMART earlier, Go here: http://linux01.gwdg.de/~pbleser/rpm-navigation.php?cat=/System/smart Download the following for your architecture to your home folder: smart smart-addons smart-gui
Once download, right click on the files (in the order they are listed above) and choose Actions > Install with YAST. When finished you'll find it at kmenu > System > Configuration > Smart Package Manager. Guru even put in the main repositories you'll need! Once open hit the Update Channels button.
Upgrading KDE with SMART Open SMART, go to kmenu > System > Configuration > Smart Package Manager, choose Edit > Channels > uncheck all channels except suse-kde and suse-kde-backports, click Close. Hit the Update Channels button > go to Edit, Upgrade All > a screen will pop up, click Yes. When finished, it is easiest if I just tell you to reboot. After reboot, go to kmenu > Personal Settings, you should see the new version number in that screen.
Multimedia Support Using SMART you'll be able to install what you need. Use the Find function. Installing these packages should also provide any dependencies you'll need. Check the forums listed above for more info and questions. Amarok amarok-xine flash-player k3b (upgrade it and add k3b-mad) kaffeine lame MPlayer RealPlayer xine-ui xmms
Wireless Networking I've only got one wifi connection and that is in my Centrino laptop. It works flawlessly out of the box and required no interaction on my part. I can switch at will between a wired and wireless connection as well as between wireless networks with KNetworkManager.
Windows Networking To access a Windows workgroup see here: How To Samba With Suse 10.1 And Windows XP
KSensors
This is a GUI for lm_sensors that will display various hardware info. Getting it to work is simple. 1 -Install the package using YAST or SMART. 2 - Open a terminal > type su, hit enter > enter your root password, hit enter. 3 - Type sensors-detect, answer the questions. (if it says it found no supported chips you are out of luck) 4 - When finished copy all the info to a file, save it but leave it open (I use kwrite for this). 5 - Go to kmenu > Run > type kdesu kwrite, enter your password. 6 - In kwrite select Open and navigate to the /etc/init.d/ directory, find a file called boot.local and click it. 7 - Go back to the file I had you save, toward the bottom you'll see a section or two that starts with #----cut here----. Find the one under the line To load everything that is needed, add this to some /etc/rc* file: copy that section to the boot.local file you have open, save and close it. 8 - Repeat steps 5-7 for any other files, for example I have a line that says: To make the sensors modules behave correctly, add these lines to /etc/modprobe.conf: 9 - Reboot your machine, open KSensors and configure it (right-click on the icon in the system tray)!
Bookmarks Importing the bookmarks you saved into Firefox: Open Firefox, in the menu at the top click on Bookmarks > Manage Bookmarks... > choose Import (from file) > navigate to the file you saved.
Importing the bookmarks you saved into Opera: Open Opera > in the menu at the top click File > Import and export > Import Netscape/Firefox bookmarks > navigate to the file you saved.
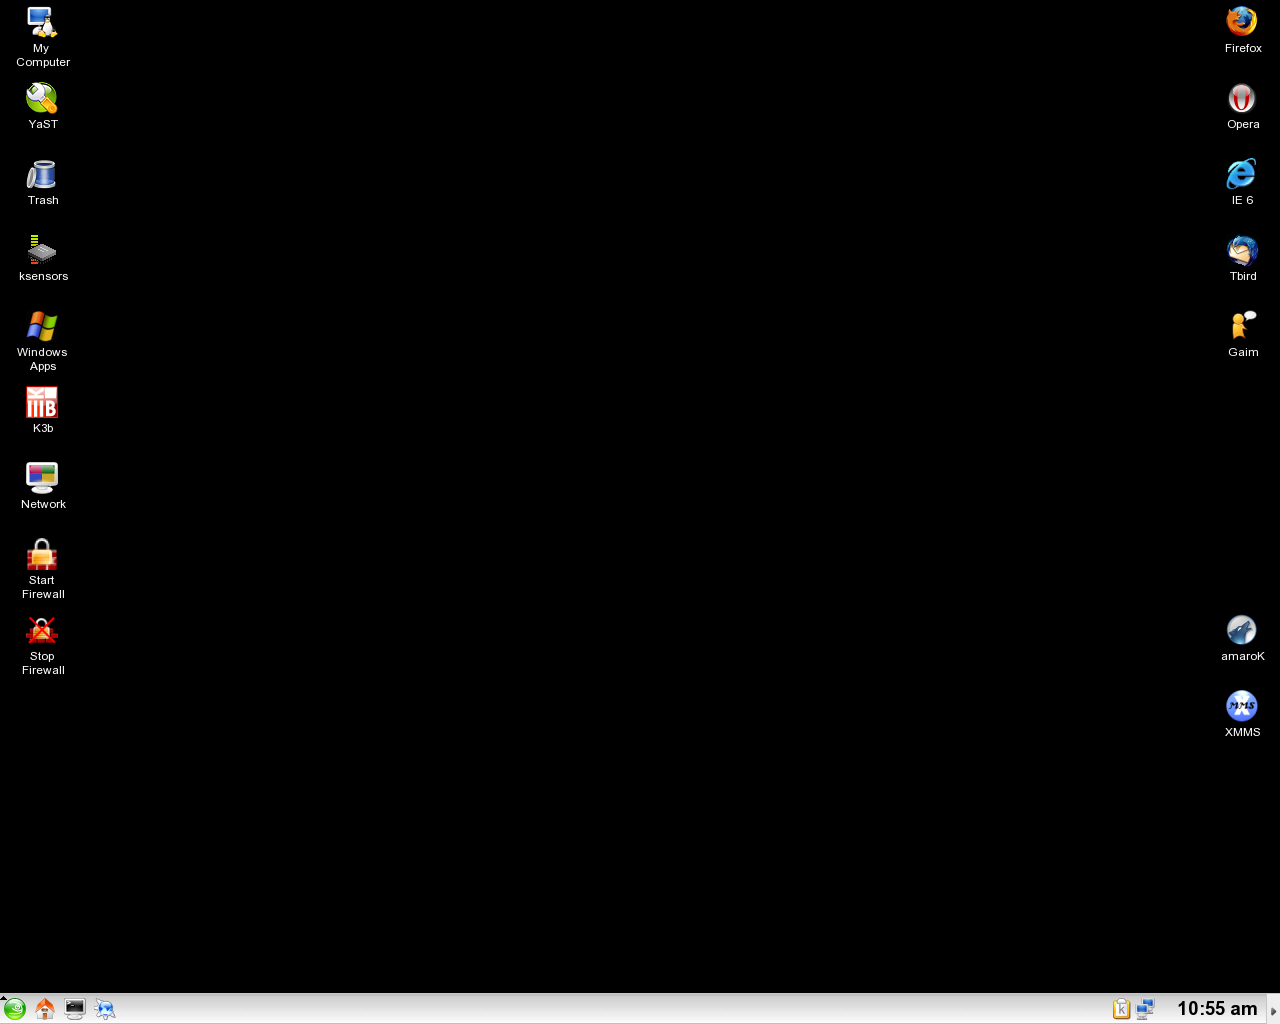
Screenshots Of My Desktop (Click on thumbnails for a larger pic. These are large images, either set your browser not to resize images or right-click the thumbnails and "save links as".)
That's it for now!
|
|
|
TweakHound - Optimize Your Computing Experience!
|